
How do you make photo thumbnails bigger on a Mac?
If you’ve got a folder full of photos on your Mac, you might be frustrated that the default thumbnail size for those pics is so small you can barely see what’s in them. What’s more, there appears to be no easy way to make those thumbnails bigger like there is in (hushed voice) Windows. However, if you know where to look, there is a simple way to make photo thumbnails bigger on a Mac. And we know where to look.
Step-by-step guide to making photo thumbnails bigger on a Mac
Time needed: 2 minutes
How to make photo thumbnails bigger on a Mac
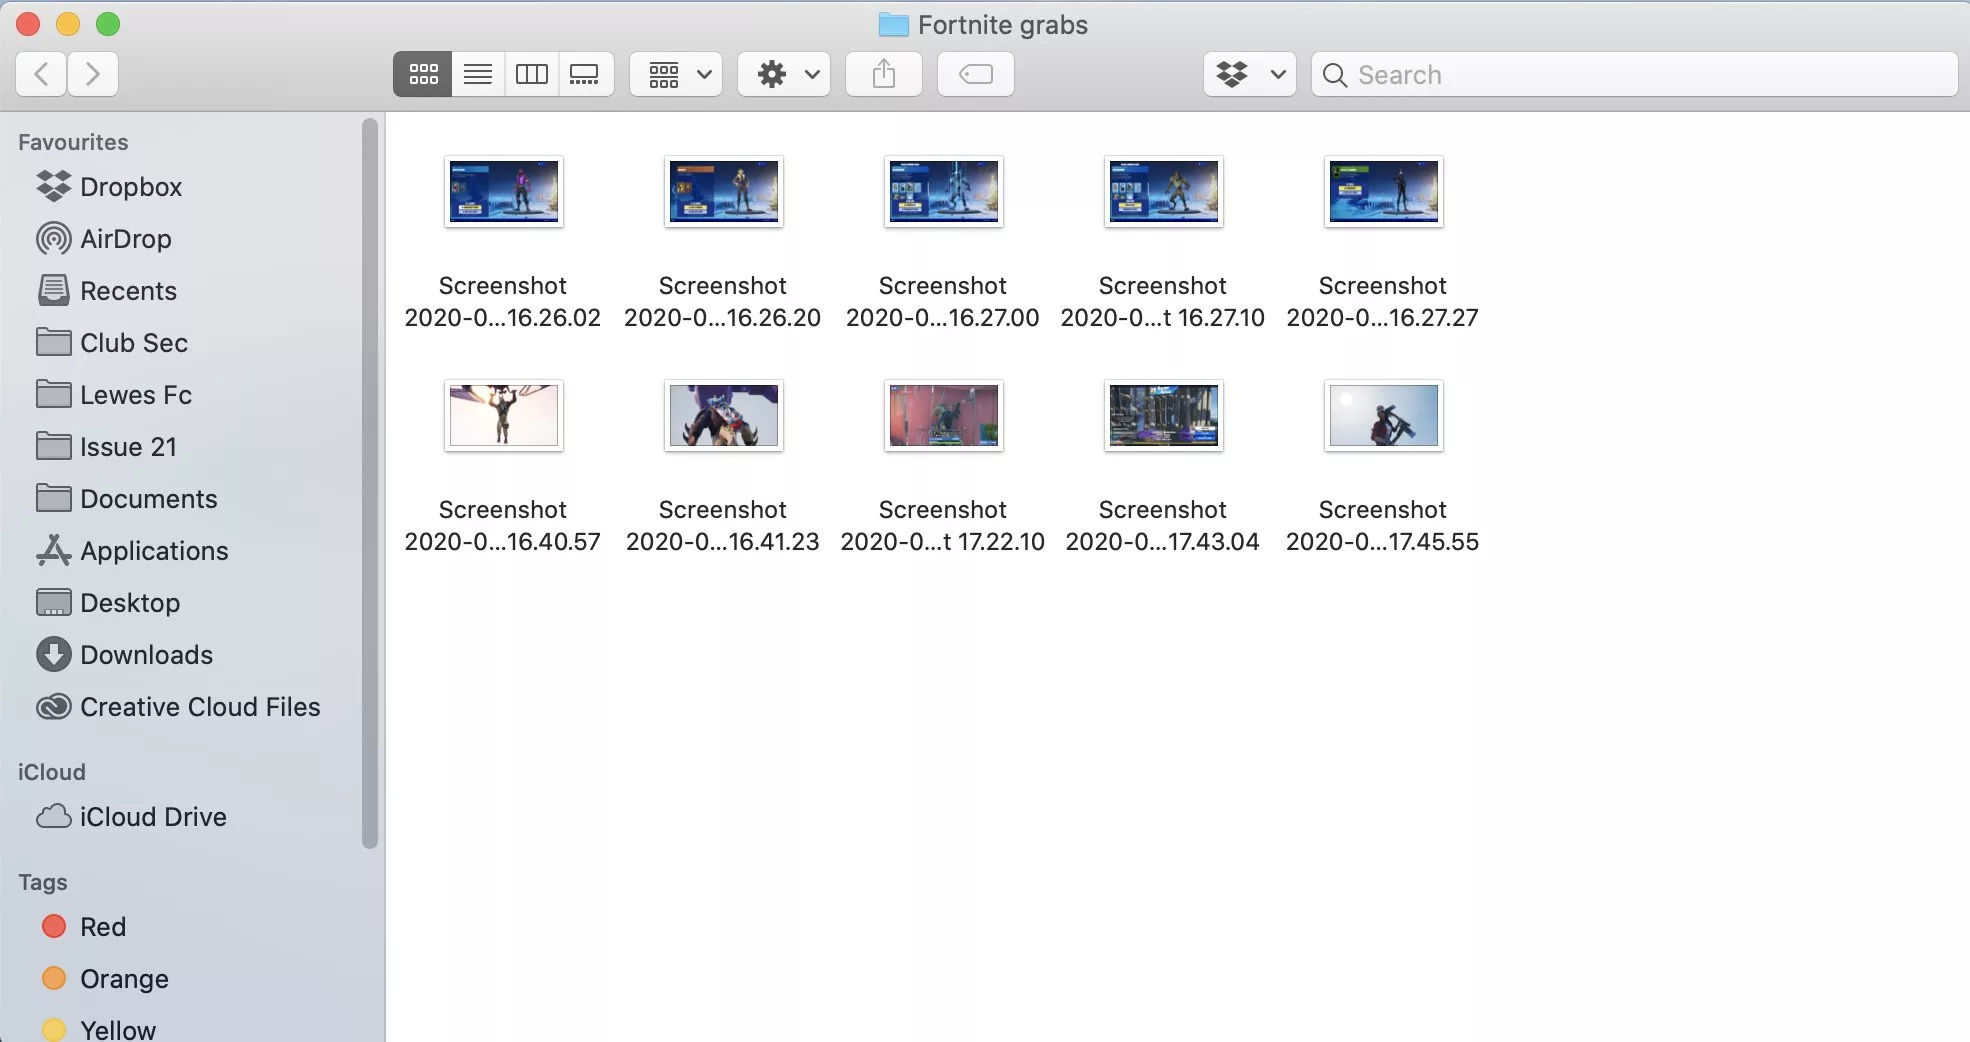
- Open a Finder window
Open any Finder window with a folder containing images, such as our folder containing screenshots from the game Fortnite here. Now make sure you are in icon view, by clicking the icon with the six little squares.

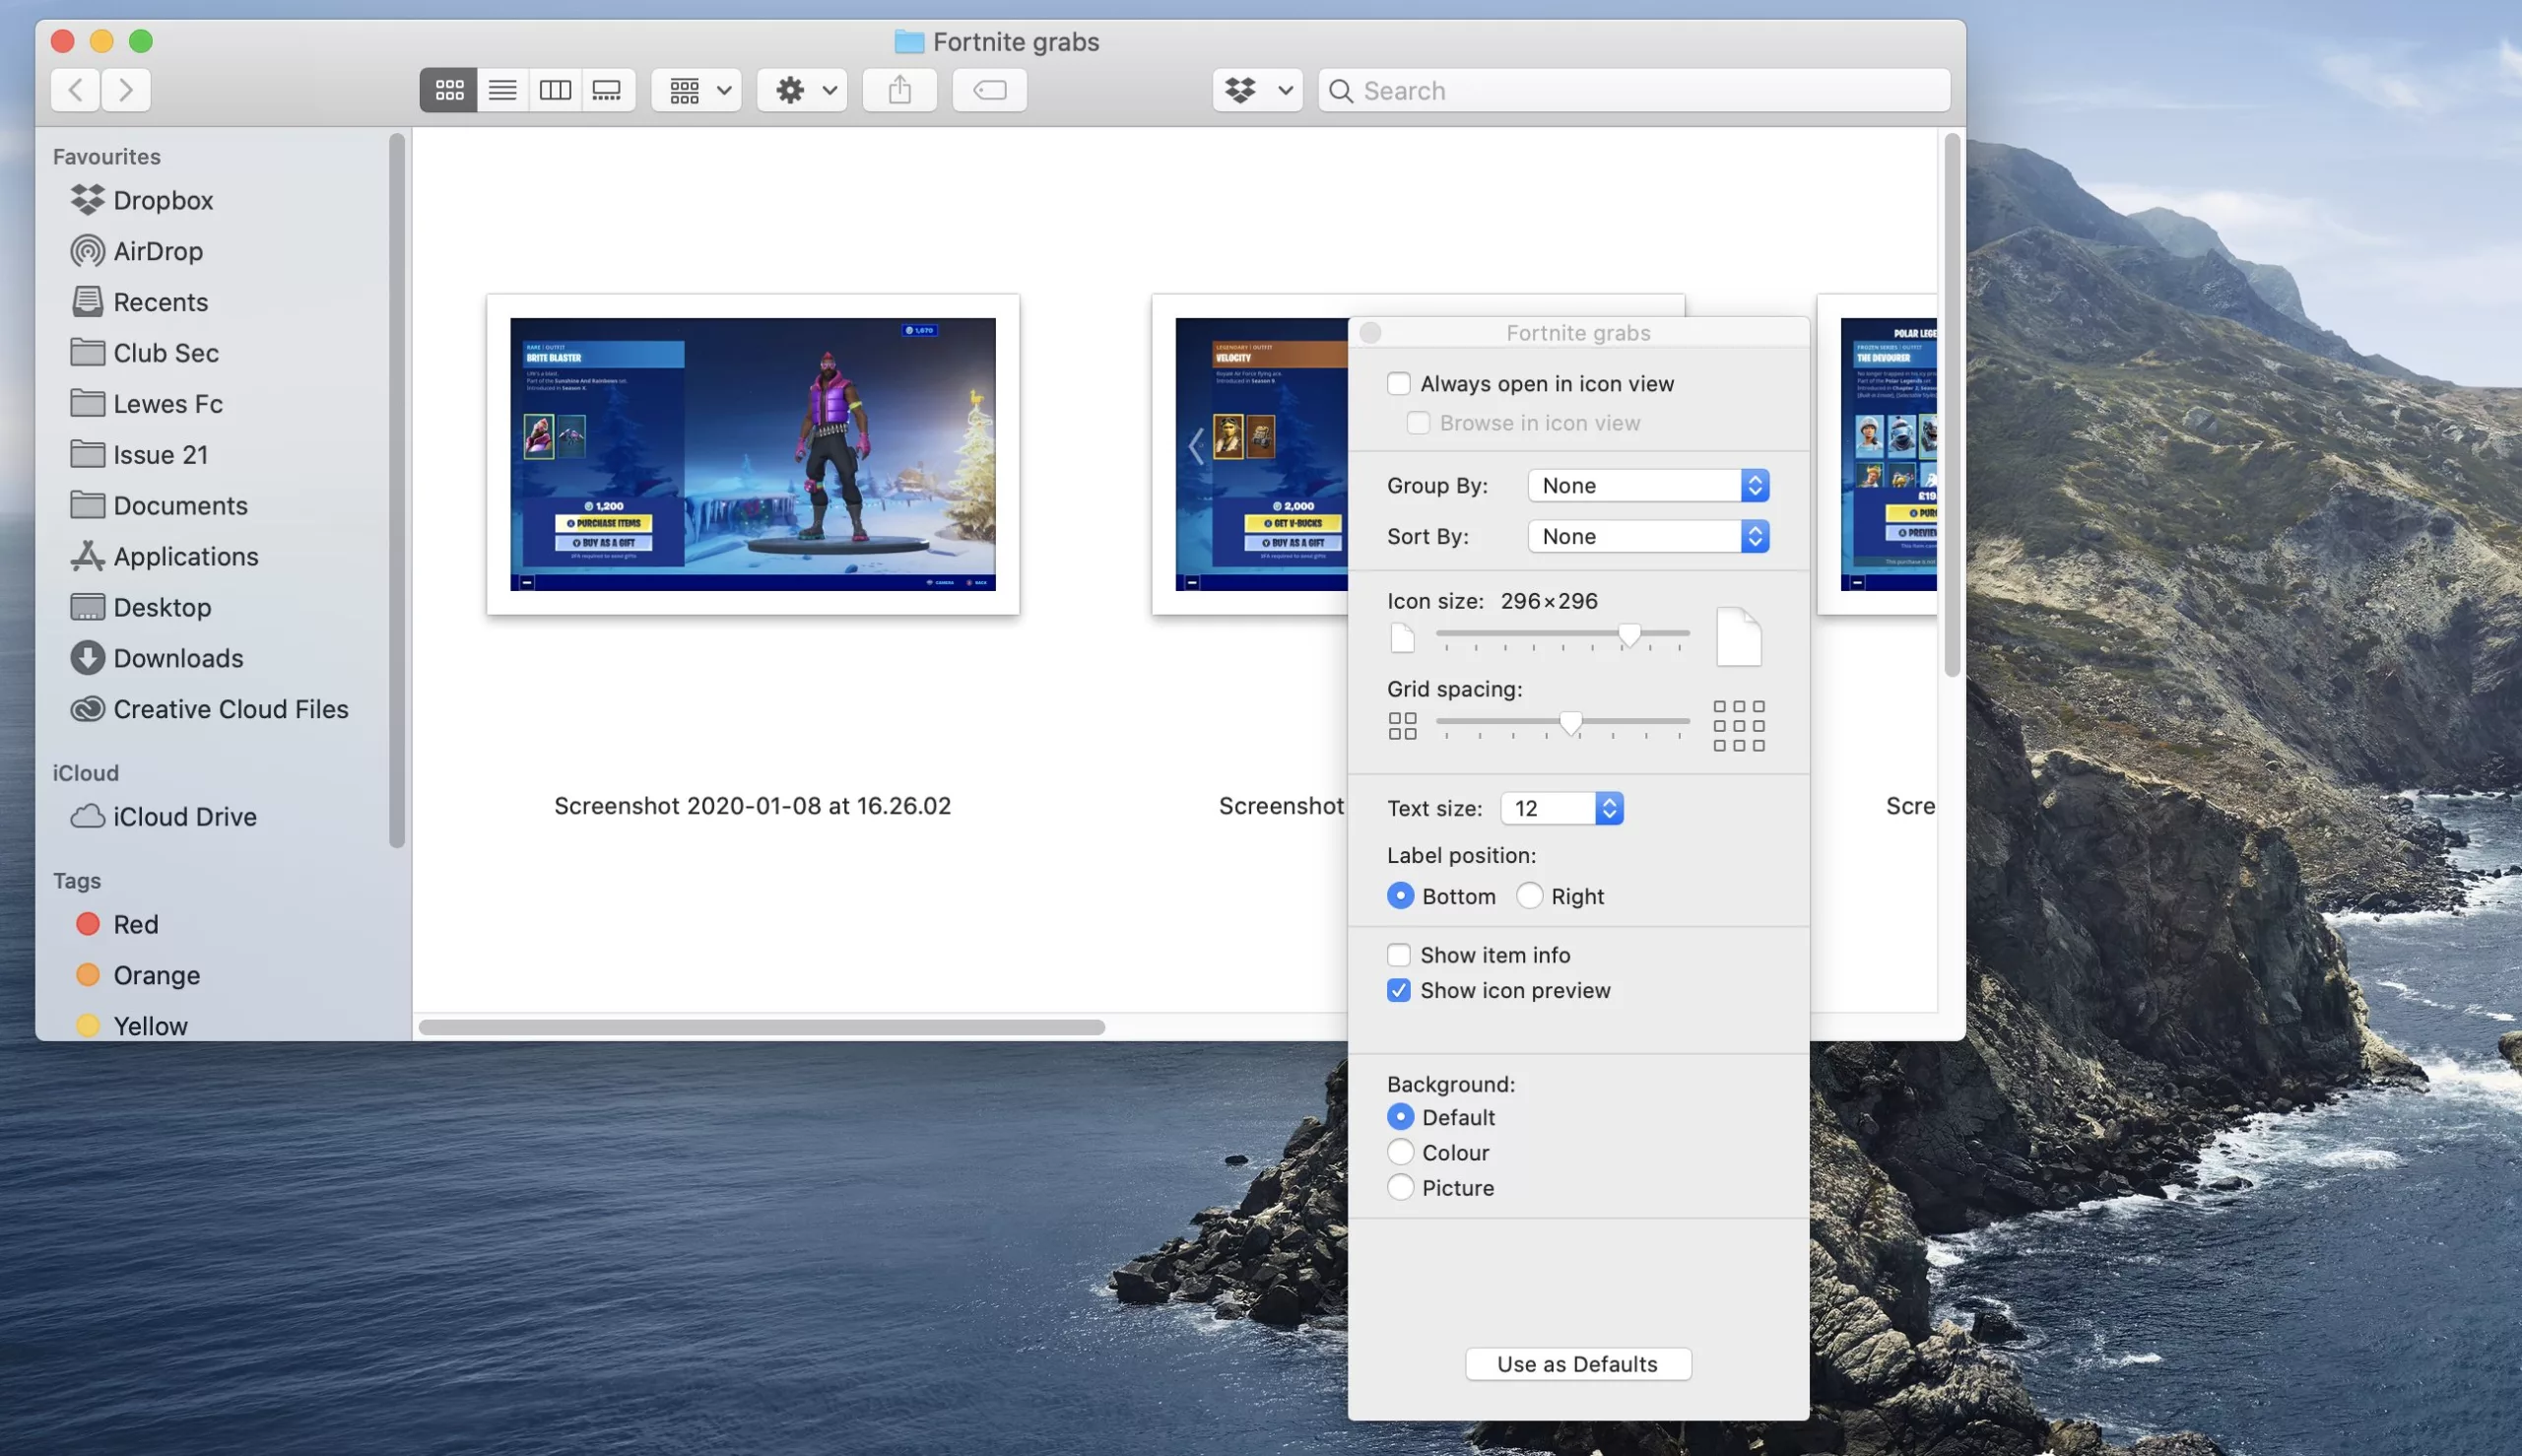
- Open the View Options
In the menu bar at the top of the screen, click View and then Show View Options. A rectangular window should appear over your Finder folder, like so:


- Change the icon size
Use the icon size slider to enlarge the icons/thumbnails to your desired size. You should see the size of the thumbnail images in the background increase/decrease as you move the slider.

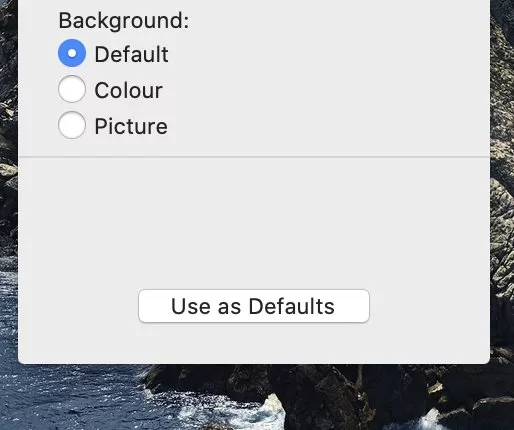
- Set the new size as your default
Once you’re happy with the size of your thumbnails, hit the button at the bottom of the menu that says Use as Defaults and that new size will be applied across every folder on your Mac.

Related reading: Where is the delete key on a Mac keyboard?
Related explainers

Barry Collins
NEXT UP

What is the one key thing employees expect from technology when they start their working day?
Regardless of industry, working location or applications used, employees should expect technology to just work.

Let the games begin: Paris Olympics puts AI to the test
The Paris Olympics will drench the French city in AI – but care must be taken to avoid any harm.

Jochem van der Veer, Co-Founder and CEO of TheyDo: “In this world of AI, we need to remember to think humanely”
We interview Jochem van der Veer, Co-Founder and CEO of TheyDo, who shares many excellent insights into how businesses can make their customers happy