

The simple answer to this question is yes: it is safe to yank out your USB flash drive without going through the full ejection process. But this advice comes with many gotchas, so read on to be sure you’re safe when you remove USB drives from Windows.
Can I remove USB drives safely if I’m running Windows 7 or older?
If you’re running Windows 7, then you’re still probably fine to remove the drive. I did for years and nothing dreadful happened.
However, it’s safer to eject the drive the formal way. How? Look for the “Safely Remove Hardware” icon in the notification area of your taskbar. That is, the mini row of icons next to the clock, which is normally found at the bottom right of the screen.
If you can’t find the remove hardware icon, click on the upwards arrow at the left of the row. This will reveal hidden icons. Still can’t find it? Then you either don’t have a USB drive plugged in or the icon is set to stay hidden. Check Microsoft’s advice here.
Once you’ve found the “Safely Remove Hardware” icon, click it. Any plugged-in drives will show up, and you just need to select the one you wish to eject.
Can I remove USB drives safely if I’m running Windows 10?
First, you need to find out which version of Windows 10 you’re running. The simplest way to do this is to type “winver” into the search box.
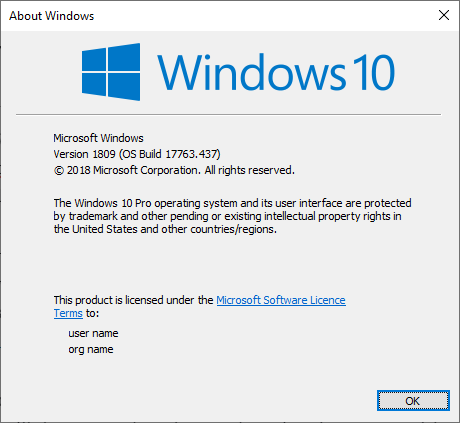
As you can see, I’m running version 1809. That’s good news as it means I can safely remove drives from the USB port without worrying about corrupt data.
Are you running an earlier version of Windows? You can still remove the USB drive and be 90% confident that it will all be fine, but Microsoft doesn’t condone this.
That’s because your Windows 10 machine is using the “Better performance” policy to define how Windows interacts with external drives. This allows Windows to use the external drive to transfer data more quickly – it dumps (“caches” is the proper word) data to the drive rather than waiting for a slow hard disk.
However, the reason I say that you’ll be safe 90% of the time is because modern computers rely less and less on this approach. It’s very unlikely that Windows 10 is using your USB drive to speed up operations.
How to force older versions of Windows 10 to switch to a safer mode
If you’re running an older version of Windows then fear not: it’s relatively easy to switch to the “quick removal” mode. Unfortunately, it’s on a per-device basis, so you’ll need to follow this process for every drive you wish to remove quickly.
First, connect your chosen USB drive. Now right-click on Start (the Windows icon, normally at the bottom-left of your screen) and click on File Explorer. Scroll down the left-hand window until you see your drive. Here, it’s simply called “USB Drive (D:)”.
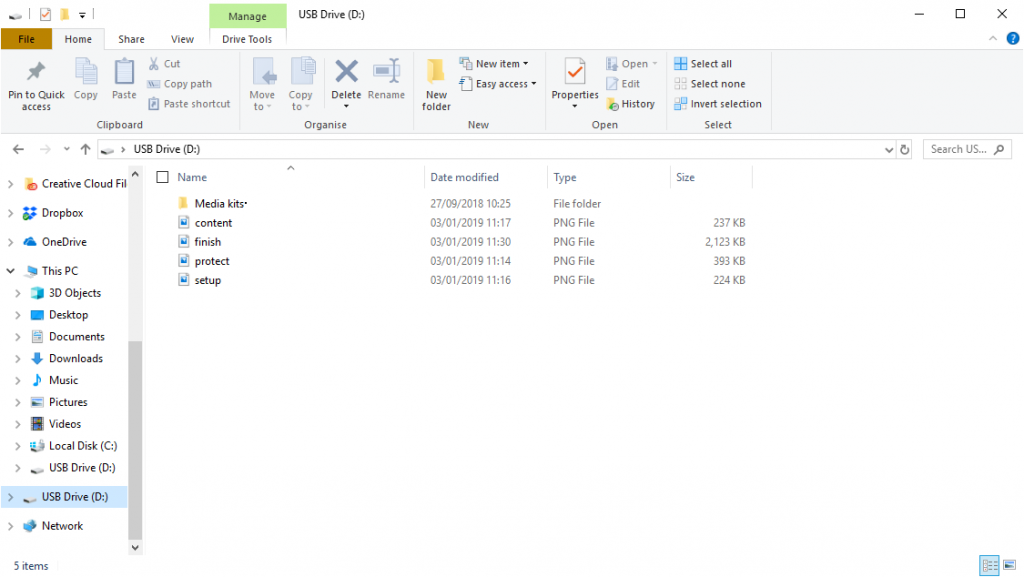
The key bit of information here is “D”. Your letter may be different.
Now right-click on Start again and select Disk Management.

Here you can see drive D (our USB drive) sits at the bottom of the window. Right-click on this and select Properties.
Depending on which version of Windows you’re using, you’ll either see the screen on the left or the right:

If you see the screen on the left, click the Hardware tab, then the drive you want (it will say USB in its title) and then select Properties. This will take you to a window similar to the one shown above right.
Now select the Policies tab.

All you need to do now is make sure Quick removal is selected rather than Better performance. Click OK to apply the changes.
READ NEXT: How do I get the latest Windows 10 update?
Add Comment