

If you’ve previously owned an iPad with a home button, you might be stumped when it comes to taking a screenshot on an iPad Pro that doesn’t have one. How do you take a screenshot on the Apple tablet? It’s dead easy, let us show you.
How to screenshot on an iPad Pro
To take a screenshot on the iPad Pro, you need to press both the power button and either of the two volume buttons at the same time, as shown below:

When you press the buttons, you should hear a noise like a camera shutter and a small thumbnail of the screenshot should appear in the bottom left corner of the screen.
If you tap on that thumbnail quickly, before it disappears, you’ll be presented with a variety of options. You can use the handles at the side of the screenshot you’ve just taken to crop the screenshot. You can tap then pen-like icon to annotate the screenshot, either using your finger on the touchscreen or the Apple Pencil. You can tap the bin icon to discard the screenshot or you can tap the up arrow icon to share the screenie via email, social media or other apps.
When you’ve finished editing, tap Done in the top-left corner of the screen and you’ll be presented with various options for saving or discarding the screenshot on your device.
Where are screenshots saved on the iPad Pro?
If you didn’t manage to get to the thumbnail of your screenshot before it disappeared off the screen, you might be wondering where the screenshot you’ve just taken is being stored.
You will find your screenshot lurking in the Photos app. Look for the bright-coloured flower-like icon.
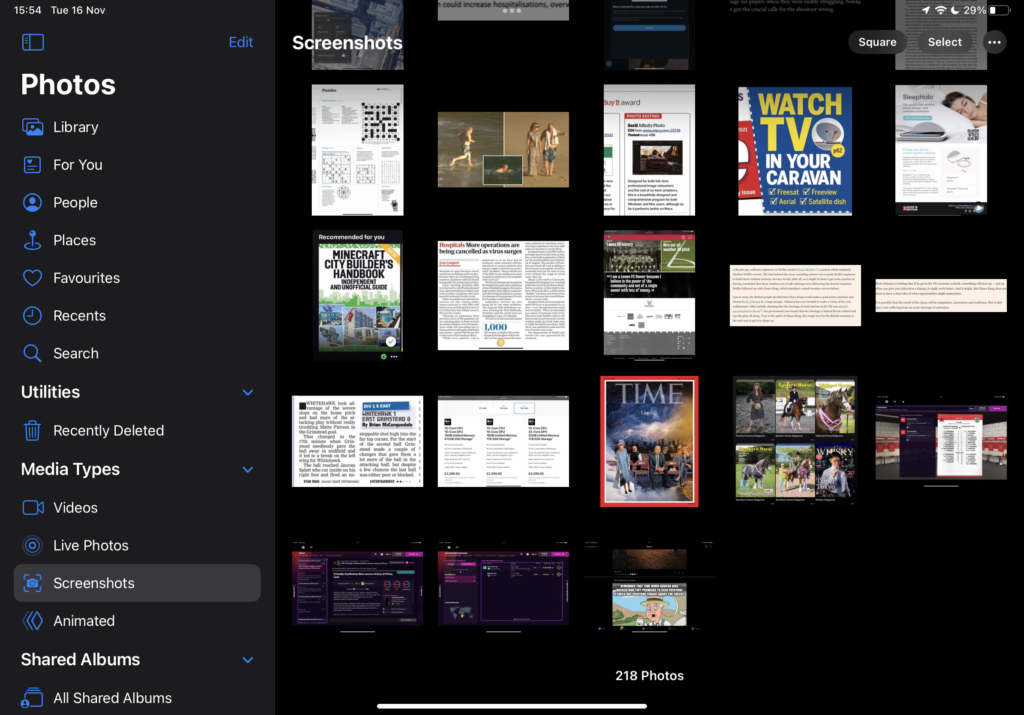
Once in the Photos app, the screenshot should be found at the bottom of the main Library menu. You might have to scroll down to see it. The Photos app also sorts images by Media Type. If you look in the left-hand menu, you should see ‘Screenshots’ listed under ‘Media Types’, which might make it easier to find previously taken screenies in amongst all the holiday photos and pictures of the dog!
Add Comment