
Do you and everyone else who uses your computer all log in with the same account? While this may simplify things, it also means that everyone will have access to your locally saved personal data. If you’d prefer to keep some stuff hidden from prying eyes, then it’s possible to protect a file or folder in Windows 10 and Windows 11 with a password.
I’ve read about the Encrypted File System. Can I use that?
One method often mentioned when looking into password protecting your data is a built-in Windows feature called the Encrypted File System (EFS). The problem with EFS is that it’s only available if you’re using the Pro, Enterprise or Education editions of Windows 10 or 11. As most of us own the Home version, that’s ruled out. EFS also safeguards your data using your Windows login details. That may be handy if someone nicks your hard drive, but if everyone you wish to protect your data from already uses the same account, then it’s pretty much useless.
So what options do I have?
While there are a few different ways to password protect a file or folder in Windows 10 or 11, one of the easiest and most versatile is to use a free program called Easy File Locker. The app works by password protecting itself, and preventing anyone from accessing the program and altering the settings on your protected file and folders. It also means it can’t be uninstalled without knowing the password. Let’s look at how to install and use it. (Before you do that, you might want to read our advice on creating a strong password.)
How do I install Easy File Locker?
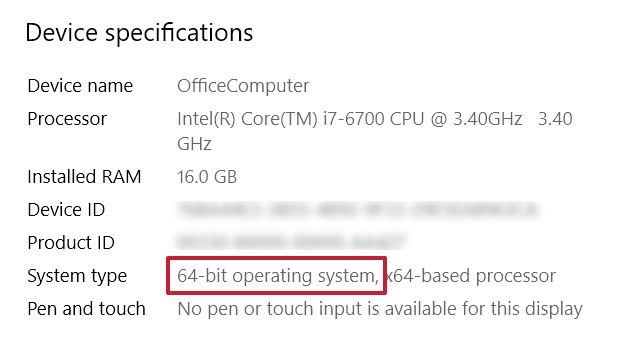
First, download Easy File Locker from here. Select the latest version – version 2.2 at the time of writing – and click on the download link on either the 32-bit or 64-bit version, depending on which version of Windows you are running. If you’re unsure, you can check in your Windows Settings under System and About.
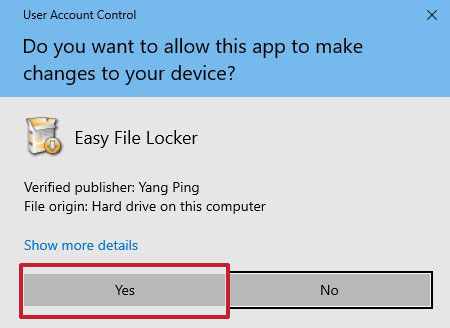
Once downloaded, open the installation file and select Yes when asked if you wish to make changes.
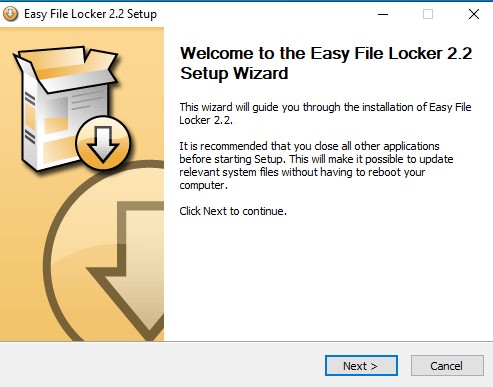
Now click Next when the Easy File Locker welcome screen appears.
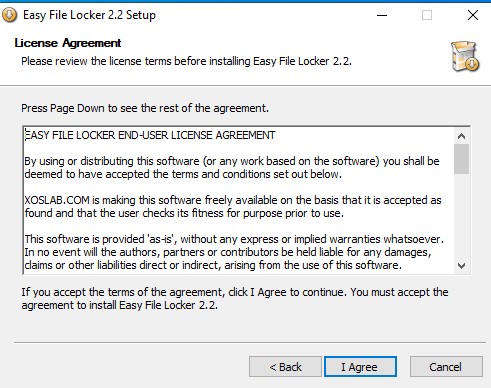
The License Agreement will appear. Read the agreement if you wish, and then click I Agree to continue.
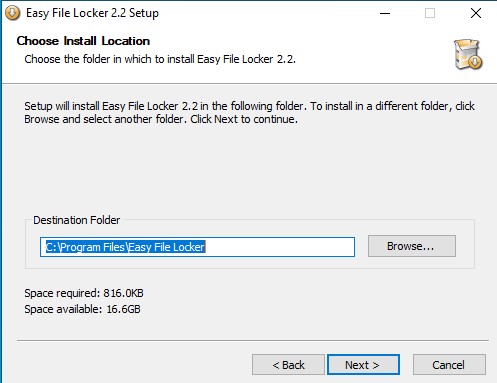
The next step is to choose a location to install Easy File Locker. Unless you wish to install it in a different location to the default offered, click Next.
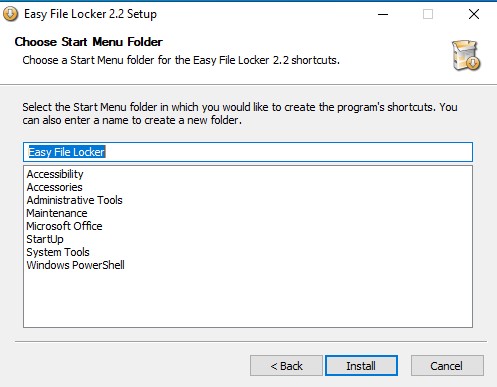
You can now choose a Start Menu Folder to store the program’s shortcuts. Again, unless you have reason to do so, the default option is fine, so click Install.
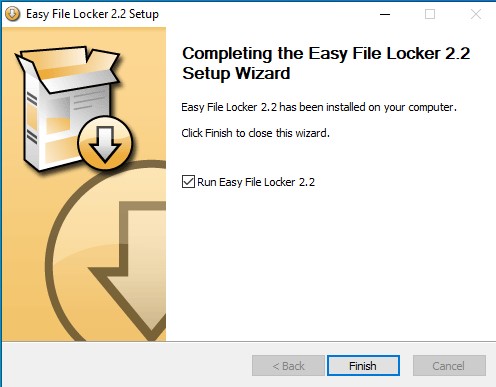
Easy file locker will now install. Once it has, you can open the program by leaving the tick in the box next to Run Easy File Locker and click Finish. If you intend to use it later, un-tick the box and click Finish.
How do I password protect a folder or file with Easy File Locker?
Once you’ve installed Easy File Locker, the first thing to do is to password protect it. To do this, first open Easy File Locker, and from the top menu select System and then choose Set Password from the list that appears.

In the Set password window, input a password and also confirm it in the box below. Make sure it is an easily remembered password – but also not one that other users of the computer could guess. Once you’ve entered your password in both boxes, click OK.

It’s now time to safeguard your data. You can select either a folder or file depending on what data you intend to protect.
Password protect a folder
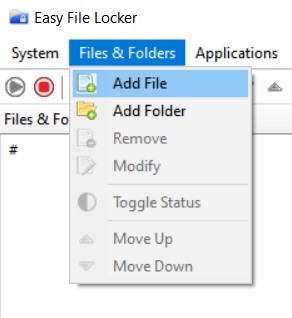
Start by clicking on the Files and Folders option in the top menu and then select Add Folder.

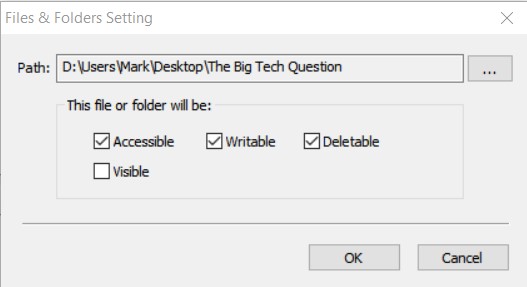
The File and Folders Setting windows will now open. If you know the direct path of the folder, type it into the Path box and click OK. Otherwise, click on the three dots to the right of the box.
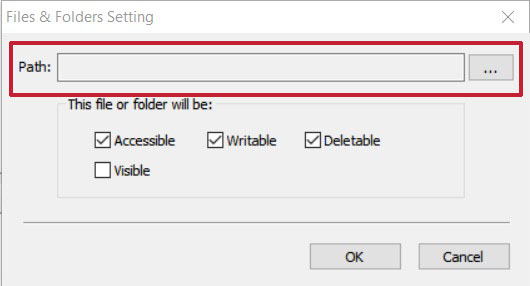
A Browse for Folder window will now appear. Expand your existing folders or drives from the list using the arrows until you find your folder’s location. Once found, highlight the folder and then click OK.

At this point, you can also choose what restrictions you wish to give to the folder. The choices are:
Accessible: Unticking this option means no one can access the folder.
Writable: Unticking this box stops other users from adding anything to the folder.
Deletable: Unticking this box stops anyone from deleting the folder or anything in it.
Visible: This box will hide the folder if un-ticked. Easy file locker sets this option to hide the folder by default, and the folder will only become visible by changing the settings in the program.
Once you have chosen your options, click OK.
Password protect a file
Start by clicking on the Files and Folders option in the top menu and then select Add File.
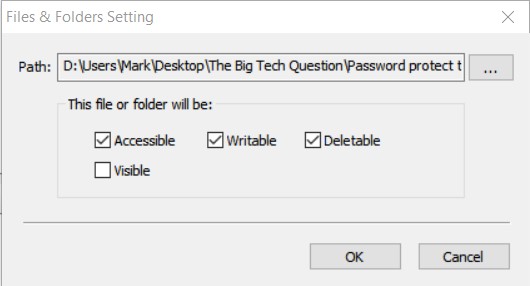
The File and Folders Setting windows will now open. If you know the direct path of the file, enter it into the Path box and click OK. Otherwise, click on the three dots to the right.
An Open Window will now appear. Use it to find your file and, once found, highlight it and then click Open.

As with your folders, you can now choose what restrictions to give the file.
Accessible: Unticking this option means no one can access the file.
Writable: Unticking this box stops other users from changing the file.
Deletable: Unticking this box stops anyone from deleting the file.
Visible: This box will hide the file if un-ticked. Easy file locker sets this option to hide the file by default, and the file will only become visible by changing the settings in the program.
Once you have chosen your options, click OK.
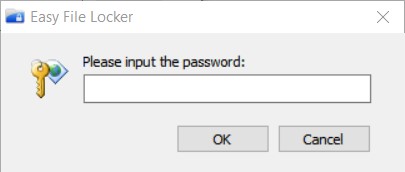
How do I access my folders or files?
If you need access to your folders or files, first open easy file locker, enter your password and click OK.
Next, find the folder or file on the list, and change the options as needed to gain access to your protected data.

It’s also worth noting that easy file locker’s default options when protecting a file or folder are ideal if you just want a quick way to safeguard your data. The default selection hides the file or folder, while keeping all other access choices open. This means you simply have to re-tick the Visible box on the chosen file or folder to view and access your data.
Add Comment