

With much larger monitors and high-resolution screens these days, it’s easy to lose sight of your mouse pointer. Colourful desktops and impaired vision can also make finding that small white arrow a nightmare. Thankfully, it’s possible to change the size and colour of the mouse pointer in Windows 10. Let’s take a look at how to do it.
How do I change the mouse pointer size in Windows 10?
To change the size of the mouse pointer in Windows 10, first click on the Start icon in the bottom left of the desktop and then select Settings from the Start menu.
From the setting menu that appears, select Ease of Access.
Now, click on Mouse Pointer from the left-hand menu shown under the Vision heading.

In the right hand pane, under the Change pointer size heading, move the slider left or right to adjust the mouse pointer size.

How do I change the mouse pointer colour in Windows 10?
You can also change the colour of the mouse pointer in Windows 10. To do this, click on any of the four icons under the heading Change pointer colour.
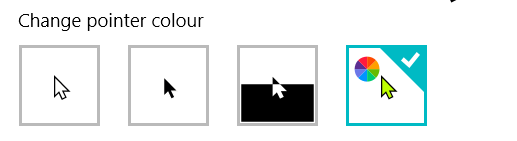
Four options are available: White, Black, Inverse or Custom. The default is White, and as you may have guessed, both White and Black change the mouse pointer to the respective colour.
The Inverse option allows the mouse pointer to change colour as it moves around, so it should see it no matter what you hover over.
However, if black, white or inverse don’t cut it, then Custom lets you alter the mouse pointer to any colour.

You can choose the colours on offer or select from the whole palette if you click on Pick a custom pointer colour.

Add Comment